Instagram has come a long way from being just a photo sharing app. It is one of the most used social media platforms by brands as well as influencers. Marketers keep a hawk-eye approach to the changing trends in Instagram and try to get their brands a fair share of user eyeballs there.
Creating a personalised till wall is quite a trend and is a great way to increase Instagram followers.
Here’s how you can achieve the Tile/Checkerboard effect on your Instagram
How to create checkerboard effect on Instagram?
Step #1 Choose two types of pics
In order to achieve a tile wall, Instagrammers usually use two kinds of photos for their feed. You can go with three or four types too. However, two is the easiest. For example, you could alternate between photos and quotes which requires posting one normal photo, followed by a quote. Some influencers also use colours repeatedly to give the tile effect to their feed. Before you do this, set a goal. If you own a traveller account and want to be known for off-beat locations, make sure you post only such pictures. Refrain from posting anything mundane. The quotes you do also should reflect your philosophy – carefree and wild for instance.
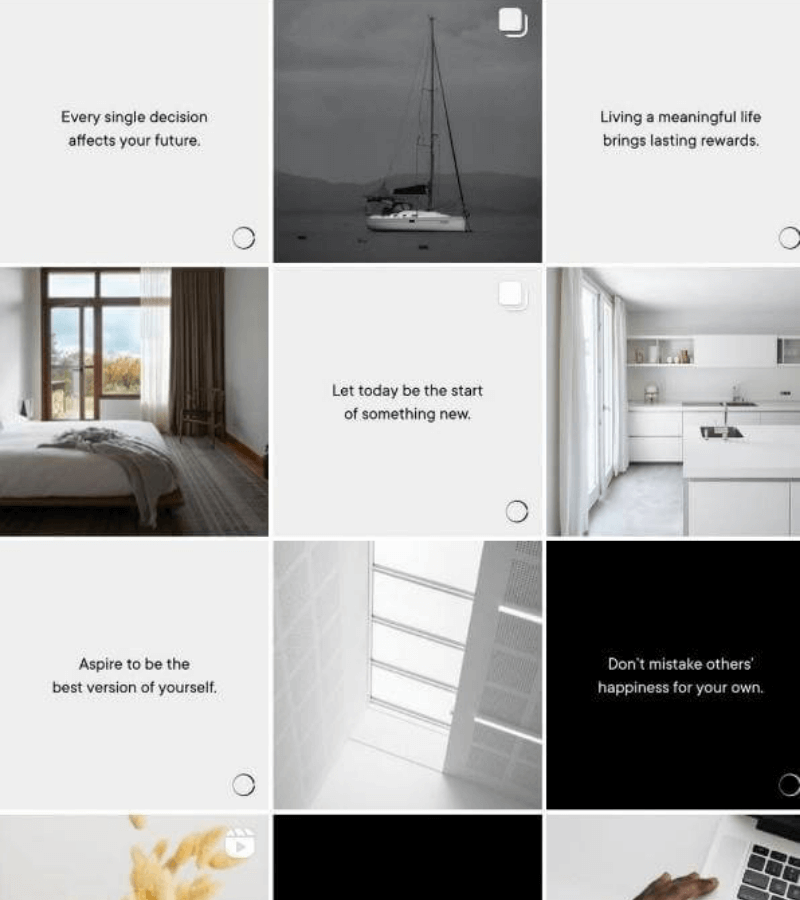
https://www.instagram.com/minimalismlife/?hl=en
The above style is a tile style. You can also try the below combinations:
- Diagonal style – Every 1st, 5th and 9th post will have a similar style
- Row by row – Every horizontal line consisting of 3 photos will have similar style.
- Column by column – The three columns that Instagram provides will have a distinct pattern vertically.
Step #2 Set the right color for picture posts
Once you have selected photographs for the layout, remember to set the tones and colors of your posts. For picture posts, filters are the best way to assign similar hues. Some influencers go the extra mile and ensure that they wear only specific color clothes or accessories. For quotes or graphic posts, go with your brand style – monochrome, colourful, pastels, solids.
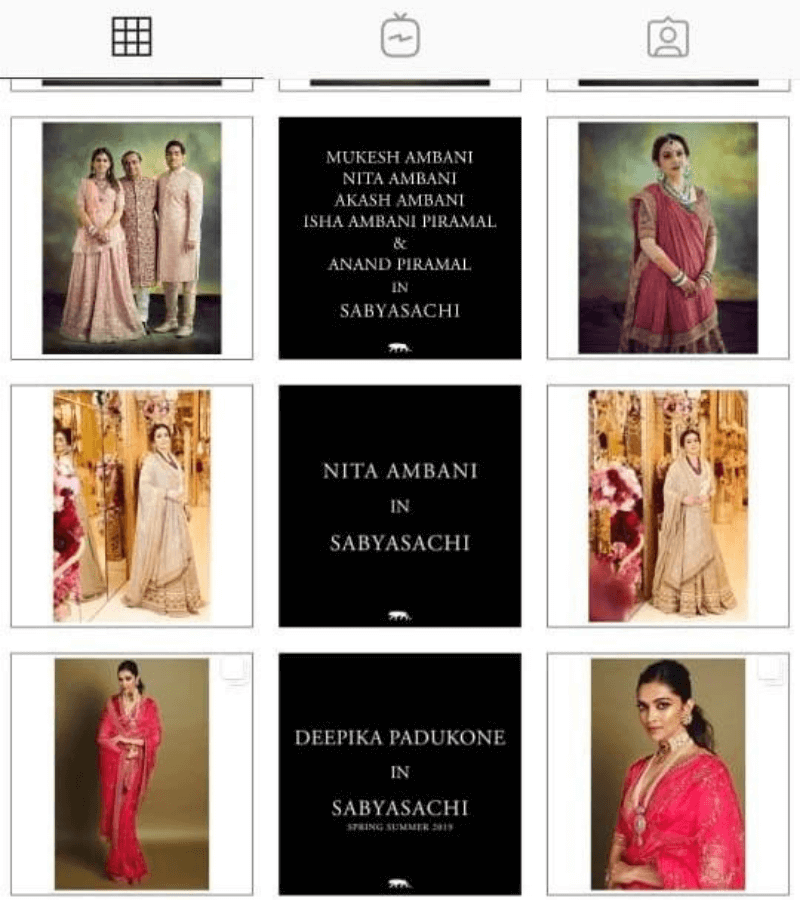
https://www.instagram.com/sabyasachiofficial/?hl=en
Step #3 Set an order
Decide on the order and stick to it. Always upload one category followed by another to keep the theme intact. For example, upload post, then quote pic followed by another normal post and so on. If you own a brand, you can make sure that every 6th post is a founder interview or personal post. It breaks the product post mundane and gives the tile a personal flavour.
Step 4: Try split ups
Another common way of creating grid is splitting a large image into smaller pictures or “tiles” using any application and then uploading the tiles sequentially to create a large tile on Instagram feed. These are usually used during new product launches or big brand announcements for an enlarged view of brand’s poster or logo.
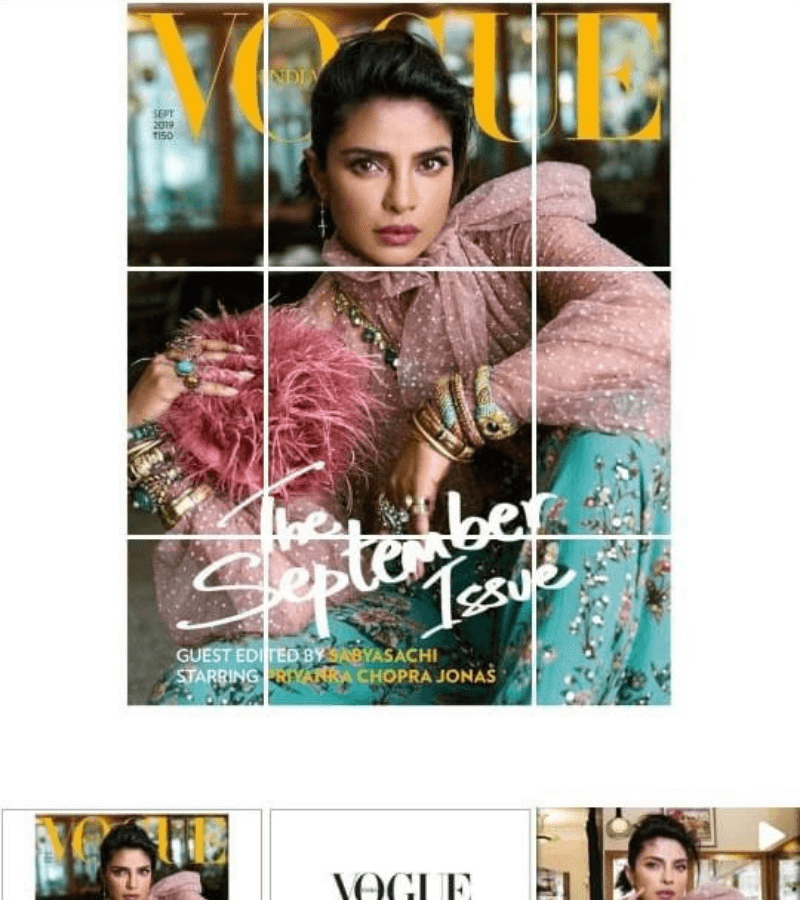
https://www.instagram.com/sabyasachiofficial/?hl=en
Pro tip: If you are splitting larger image, its advisable to post them one by one after in a gap and not continuously or else your posts will end up scamming the feeds of users. It is always good to caption every little tile while doing this so if a new follower comes across the post, they can get acquainted with the context of your bigger picture.
Why create a tile layout?
The world of Instagram has always revolved around photographs and if we look closely, even today, the popularity of the platform is deeply rooted in its visual appeal. Grid layouts go well with that.
A brand’s Instagram profile is a great tool to narrate the brand story to the viewers. If the story is visually appealing, there is a high chance that customers will want to find out more about your business or brand. End result? He/She will follow you.
It also shows followers that you are genuinely putting efforts in social media marketing. It renders a unified look to your posts, makes your profile cohesive and increases recognition among followers.


